Being Cheap is Easy: MYO
Showing posts with label MYO. Show all posts

MYO Takeout: Fried Rice!

January 14, 2015

If you follow my Instagram, you'll notice I make fried rice at least 2 times a month. I love it! It's an amazing fridge cleaner too...I like to use up whatever odds and ends I have in our veggie chiller.
A photo posted by Ashleigh Evans (@itscheapash) on
I love Chinese food, but Ricky has put me on takeout probation because I tend to just pick at whatever I order.  Don't you love when you have a ton of huge onion chunks and sauce and NO chicken? Or they mess up your order, but you're too lazy to call and fix it?  Here's my issue: I absolutely despise fried rice that is soaked in soy sauce.

In my small little hometown, we had a restaurant with the BEST fried rice ever (in my humble opinion!)...it's hard to eat anything else after that.  Shout out to House of Hsu in Grand Ledge, MI! It's crazy I haven't found another Chinese takeout with comparable fried rice yet.

Another reason I avoid takeout: it's expensive!  I like to know what's in my food and I actually don't mind cooking!   With a family of 5, it can be almost $50 sometimes! NO BUENO!

Fried rice is super simple to make at home and it's very versatile.  You can add more veggies, chicken, pork or whatever you have hanging out in your fridge!  Also, use brown or white rice--even quinoa!  It's fun to play around with!

This fried rice can be pared with another MYO takeout dish, like Chicken & Broccoli or General Tsos or bulked up to eat on it's own.  I truly LOVE the chicken potstickers sold at Costco (Ling Ling brand) to go along with at-home takeout.

Number one item you'll need for MYO Chinese takeout: a great wok.  I have this Caphalon one that we got for our wedding and it's perfect...especially since it has a lid. (Macy's has it on sale quite frequently for under $50) World Market has great ones too.
fried rice, MYO takeout, healthy takeout, healthy meals, Chinese food

MYO Takeout Fried Rice
(Serves 4)

Here's what you need:

  • 1 cup of rice
    • Cook and chill rice
    • Instead of water, use chicken/veggie stock. 
    • Optional: add 2 whole garlic cloves and a nub of fresh ginger root while cooking.
    • You can use brown or white rice
  • 1/2 cup onion, chopped
  • 3 gloves of garlic, minced
  • 2 cups veggies
    • Simple recipe: use frozen peas & carrots
    • Extra filling: add whatever veggies on hand.  Ideas: pea-pods, mushrooms, bean sprouts, broccoli, peppers...
  • 2 eggs, whisked
  • 2 tablespoons canola oil
  • 1 teaspoon sesame oil (optional)
    • I realize sesame oil can be expensive, but a little goes a long way! Just be sure to store in the fridge to keep it from going bad. I found a small bottle for under $4 at Meijer
  • 1 tablespoon each: low sodium soy sauce & teriyaki--OR 2 tablespoons Trader Joe's Soyaki
  • Garnish- chopped green onion
Let's Wok!
  1. Heat wok (or large pan) with 1 tablespoon oil over medium high heat. 
  2. Add onion and cook 2-3 minutes, stirring frequently.  Add remaining veggies and stir fry for another 4-5 minutes.  
  3. Create a well in the center of the pan and slowly pour eggs into it.  Scramble with a spoon and eventually mix with the veggies after mostly cooked.  
  4. Toss in the cold rice and remaining oil.   Season with Soyaki (or soy/teriyaki) and stir fry until heated through.
  5. Garnish with chopped green onion! 
  6. Enjoy!
Tips:
  • If adding meat, always cook completely before adding to fried rice.  I like to marinade chicken in Soyaki & sriracha and stir fry it BEFORE I start the rice.  Remove from pan and set aside.
  • Keep your pan at a med-high heat to stir-fry.  It might be tempting to turn the heat down!
  • Use more or less oil.  I never really measure, I can just tell.  As I always tell my girls: less is more!
  • Experiment!  You truly can't go wrong with this simple recipe! For extra protein, use quinoa and endamame instead of rice/peas.  Make it super spicy with hot chiles and sriracha.  Add pineapple for a sweet kick! 

Fried Rice, MYO Takeout, Trader Joe's Soyaki, Simple Suppers, Healthy Dinners, Chinese Food

What's your favorite MYO Takeout Recipe? Please share! 
Beef + Broccoli & Fried Quinoa Guest Post!

January 20, 2014


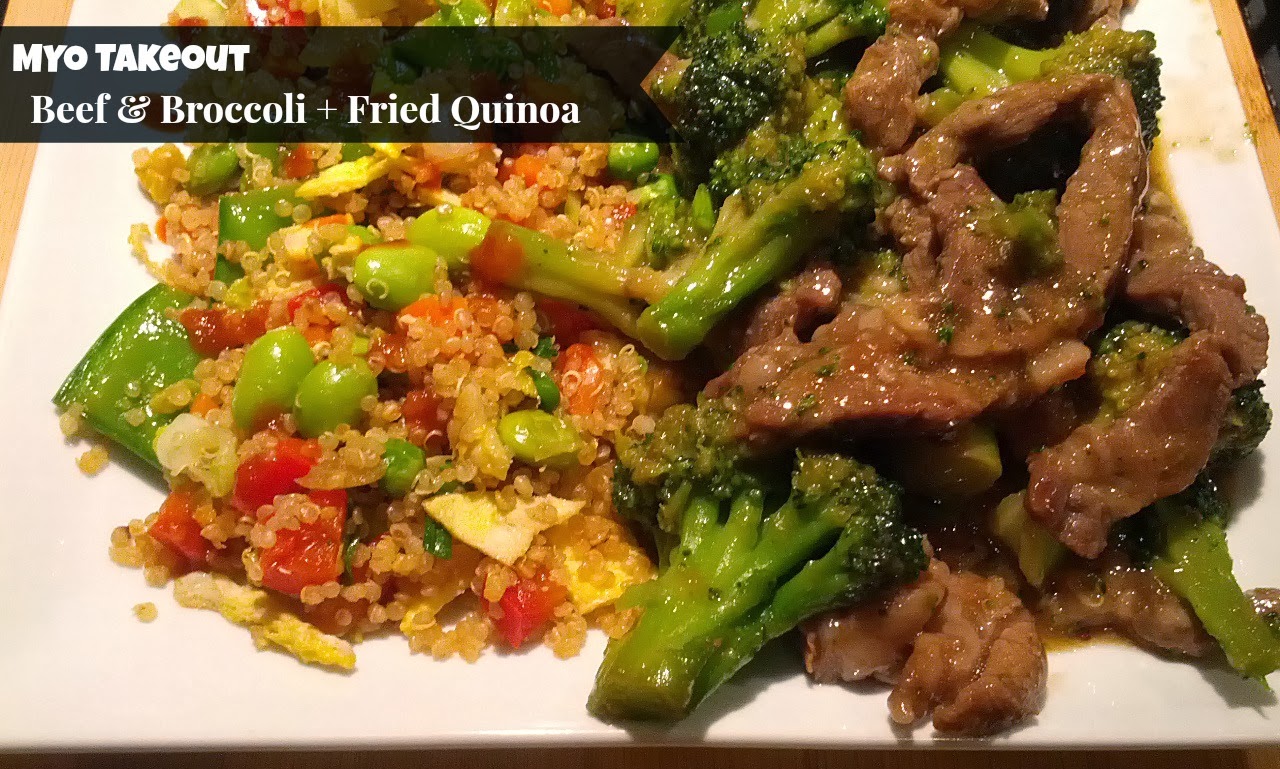
This weekend, I had a nice, healthy MYO takeout meal on Sarcastic Cooking.  Stefanie just had an adorable baby boy, Andy, in December and I was so excited to help her out on her blog.  I'm making this again with chicken this week...we LOVED it!!


The "fried" quinoa can be a meal itself...just add in some tofu, shrimp or chicken.  

What's your favorite MYO takeout meal?

Make Your Own: Naan bread

August 06, 2013

For some reason, making bread scares me.  It totally has to do with waiting for the yeast to rise.  I tend to be a cook who just throws ingredients into the pot as I'm cooking...which you can't quite do with baking.  Now, breakfast breads...that's my jam. This banana bread recipe is AMAZING!

I happened to find a recipe for Naan on Pinterest one day and I was shocked at how easy it seemed.

That recipe bombed and even Rambo was confused if it was food or a Frisbee.  (#pinfail)

Second round, I wasn't expecting much either but it turned out AMAZING!  It is almost as tasty as Olga's bread, which I wasn't expecting.  This naan is light and fluffy, yet doesn't get soggy when you use it for wraps or pizza.  Score!

Best part?  You can freeze either the dough or the prepared pieces of Naan.  Double up your recipe and save even more time and money.

When you buy Naan at the grocery store, it runs from at least $2.50 for 4 pieces.  You can make it for MUCH cheaper.

What do you do with Naan?  I love to make individual pizzas, wraps or break it off for a soup dipper.

As you saw earlier, I like to make Tzatziki sandwiches at least once a week.

I found this recipe from Budget Bytes and I made some changes.  I used Grapeseed oil (I'm a new fan) and I used our Ultragrain flour from Costco.

Love Pompeian!  Always look for the great 50% off sales at Meijer!
Ingredients
  • 2 tsp dry active yeast 
  • 1 tsp sugar 
  • 1/2 cup warm water 
  • 2.5 cups flour (I like Ultragrain or 1 cup whole wheat and 1.5 regular), plus more to sprinkle
  • 1/2  tsp salt 
  • 1/4 cup Grapeseed Oil (or Olive Oil)
  • 1/3 cup 0% Greek yogurt 
  • 1 egg

Directions:
  1. In the bowl of your Kitchen Aid (or regular bowl, if mixing by hand), add yeast, sugar and water.  Stir and allow to dissolve and get frothy...about 5 minutes.
  2. Stir in yogurt, oil and egg.
  3. In a smaller bowl, mix together flour and salt.  
  4. Slowly add the flour mixture to the wet mixture, about 1/2 cup at a time.  You may need more flour if it ends up sticky.  Kneed for 3 minutes.  (Your stand mixer might jump...no worries!) 
    • If you are mixing by hand, kneed until no longer sticky (at least 3 minutes)
  5. In the end, the mixture should be smooth and NOT sticky.  Cover bowl with a clean kitchen towel and allow to rise for 45 minutes (should double in size).  Punch down and break into 8 pieces.
  6. On a lightly floured surface, roll out the pieces until they are very thin (about 1/8-1/4 inch thick)
  7. Heat a skillet over medium-low heat, spraying with Olive Oil spray. Place one piece in the pan at a time.  Cook until golden brown on each side. Bubbles are okay!  
  8. Finish by brushing with butter or garlic oil and seasoning with herbs of your choice.

Once you try this recipe, it gets faster once you know the process.  I tend to double the batch (making in 2 separate bowls) and cook up 8 pieces, freezing 8 pieces of dough.  You must let the dough rise BEFORE freezing.  

Whole pieces of cooked naan can be frozen, I like to use the Perfect Portion bags for individual pieces, then put 2-3 in a gallon sized freezer bag.

How do you like to eat your Naan?

Like this recipe? Make sure to check out my Facebook page for more recipe & money saving updates!

DIY baby food: carrots

April 10, 2012


Earlier, I shared the start of my MYO baby food series.  It is actually fun for me to make food, it's kind of my quiet time.  Plus, nothing is better than spending an hour or two making food to last a whole month.  Such a time and money saver!  Most food is self-explanatory, but I thought I should still go step-by-step.  Before I started making baby food, I was clueless!

I tend to stick with organic food when I'm making baby food, just to help control the quality of the food.  If you wait for sales, you can stock up for almost the same price.  Since we have been shopping at Costco, our produce costs have been cut way down.  They have huge 10 pound bags of organic carrots for $3.99!  If you happen to think of any questions, feel free to ask!  I love to help!

Carrots
  1. Peel and chop the carrots.  I place mine in a strainer.
  2. Bring 3-4 inches of water to a boil in a big pot. 
    • If your strainer doesn't fit in your pot, you can just cook them in 1-2 inches of water.
  3. Steam for 15-18 minutes, or until tender.  Save the water!
  4. Place in a blender.  Be careful! I have burned myself quite a few times during this process! Try to blend without water, but add the steaming water as needed.
  5. Once you are done blending, put in silicone cube trays (or any container you are using).  I usually leave 2-3 portions in the fridge for the week.  


Freeze and place into ziploc bags.  To use, defrost cubes in a container in the fridge overnight. 


So easy!  Good food = happy & healthy baby!


DIY baby food: mash it up!

March 27, 2012


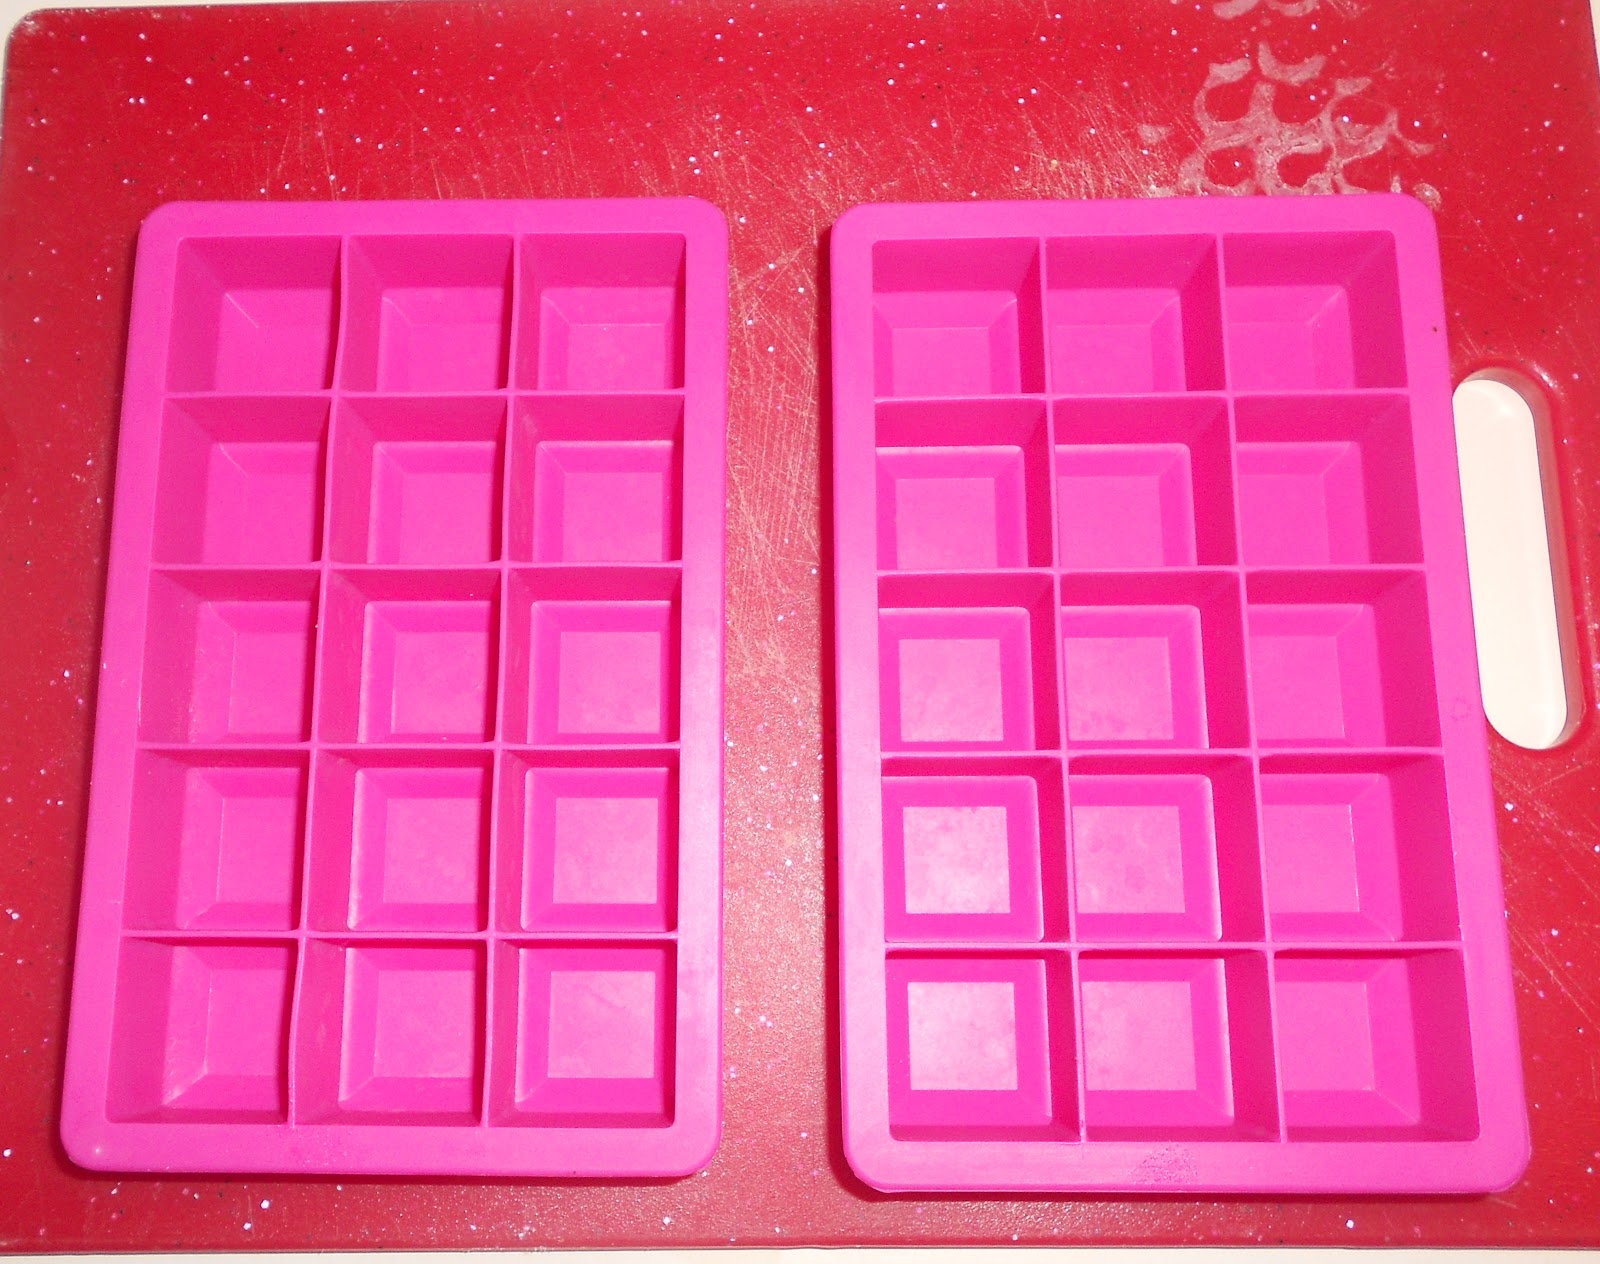
Before I had kids, I just figured making your own baby food was a daunting, impossible task.  Think again!  Once you get the hang of it, its quick and easy.  I use the ice cube method and I love it.  My favorite trays are the silicone cube trays you can find at the store now.  They are a buck or two more, but so much easier to freeze with and they make perfect 1 ounce cubes.  A perk to making your own baby food is you know what you are feeding your child. I have tasted that jarred stuff and it has no flavor! Also, you would not believe how much money you are saving.  The way Miss Gabby eats, we would go through eight or more jars a day!

The first part of this series is all about the mashables.  You don't even need to freeze these, just mash the food up before it's time to eat.

My favorite mashables:
  • Bananas
  • Sweet Potatoes (cooked)
  • Avocado
Bananas
  • Pretty self explanatory, just peel and mash with a fork.  I like to serve with a scoop of rice cereal or oatmeal 
Sweet Potatoes
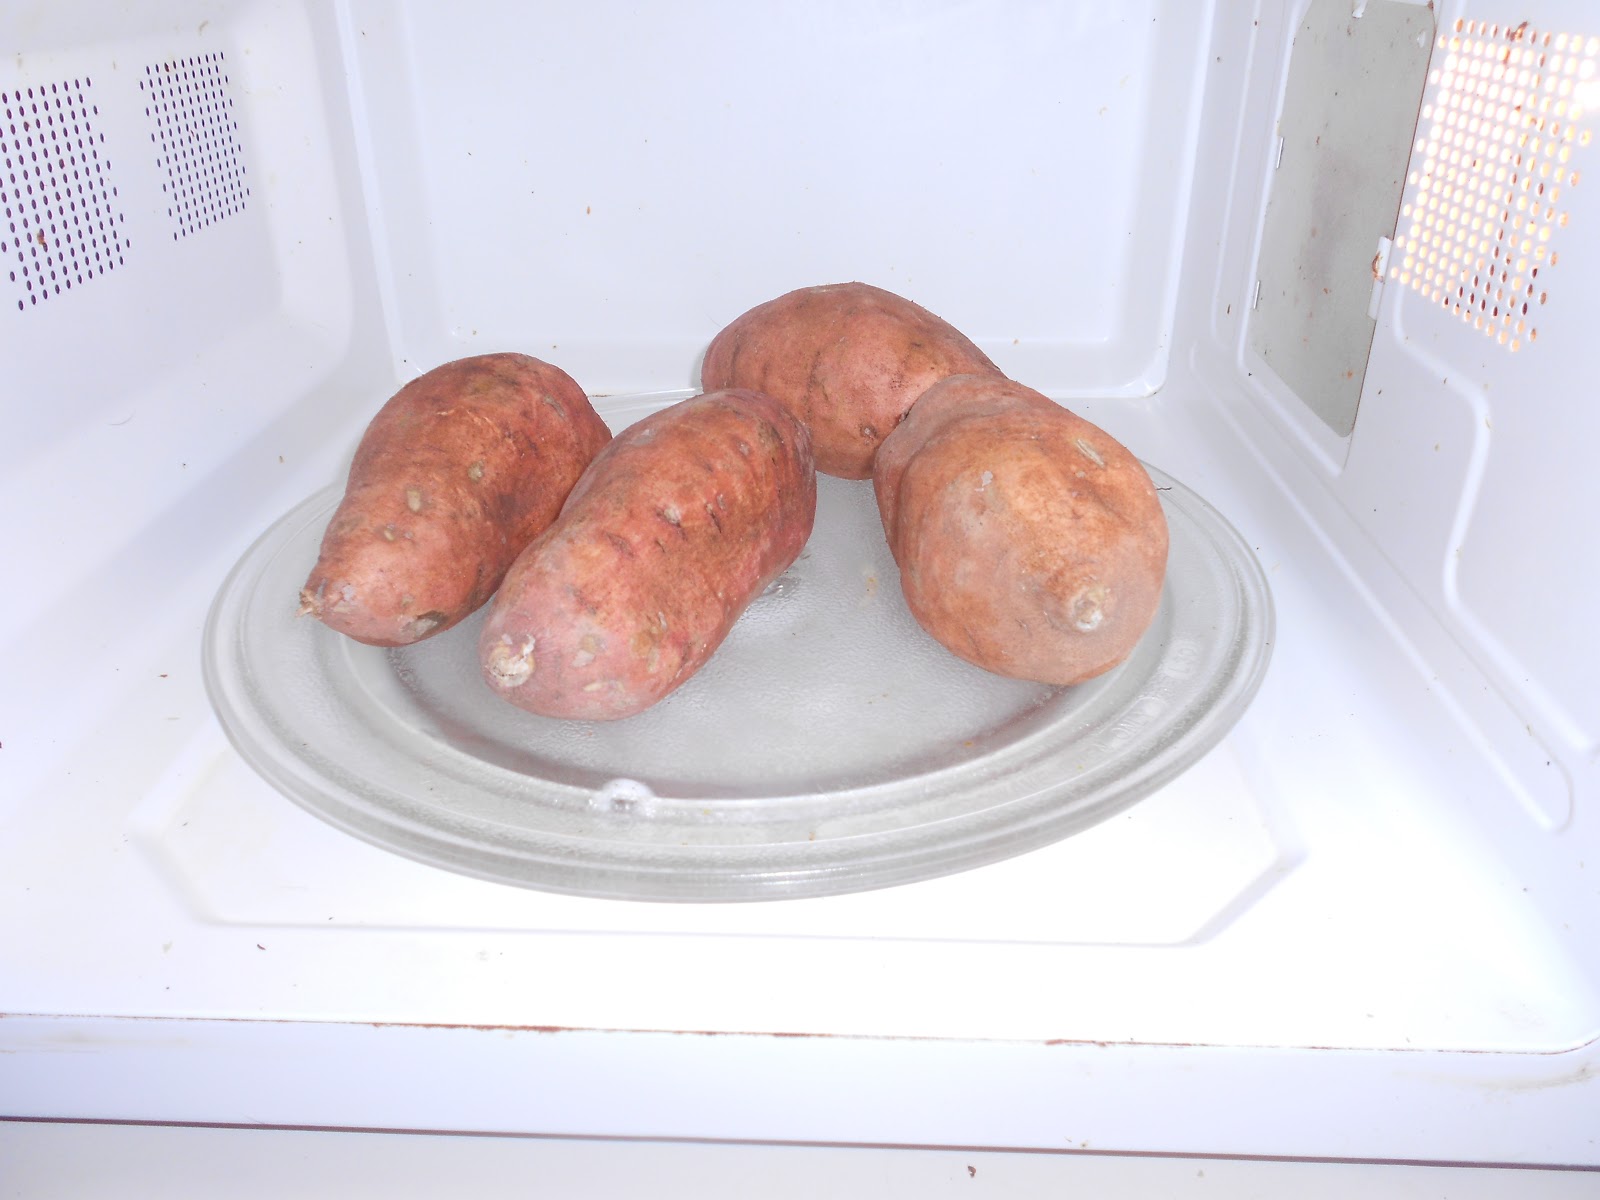
  • Wash and microwave for 3-4 minutes each.  Don't forget to poke them with a fork!  
  • Let cool for a few minutes and then scoop out the insides.
  • Mash with a fork.  
  • I usually mash enough for 3 days, so about 2 potatoes.  They are great with mashed bananas.  


Have you tried to make your own food?  What are your favorite combos to make?
 
FREE BLOGGER TEMPLATE BY DESIGNER BLOGS